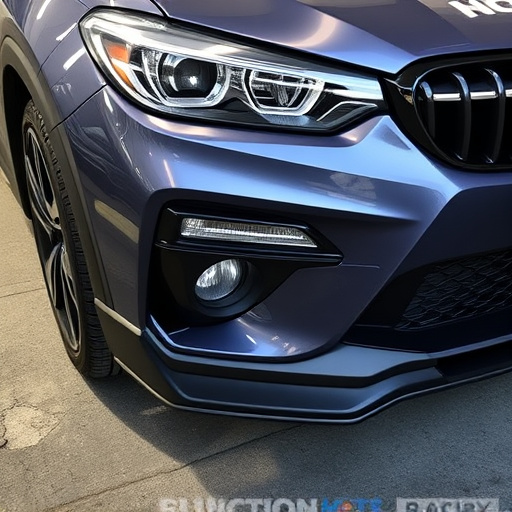


Before tackling domestic auto body repair, equip yourself with essential tools for efficient and accurate work. This guide covers dent and scratch removal techniques, emphasizing assessment, tool selection (e.g., dent pullers, polishing compounds), surface preparation, and clear instructions for DIY restoration. Painting and finishing, crucial for professional results, involve meticulous prep (sanding, priming) and various application methods (spray, brush) to enhance adhesion and durability.
Looking to refresh your vehicle’s appearance with professional-grade results? This guide is your go-to resource for mastering domestic auto body repair techniques at home. From understanding essential tools and equipment to learning step-by-step methods for removing dents and scratches, you’ll gain the skills needed to achieve flawless painting and finishing. Elevate your DIY abilities and save on costly repairs with these proven domestic auto body repair tips.
- Understanding Basic Auto Body Repair Tools and Equipment
- Step-by-Step Guide to Dents and Scratches Removal
- Painting and Finishing Techniques for Professional Results
Understanding Basic Auto Body Repair Tools and Equipment
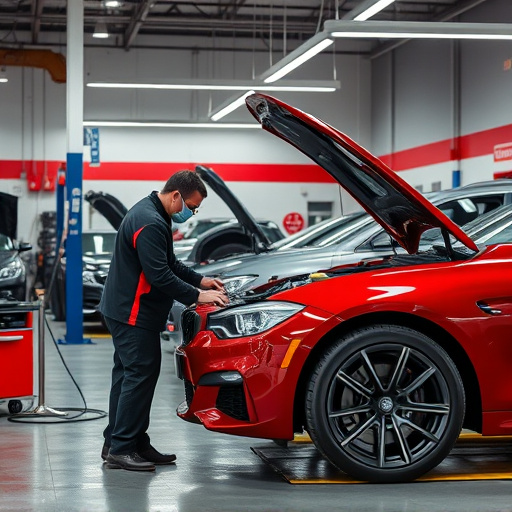
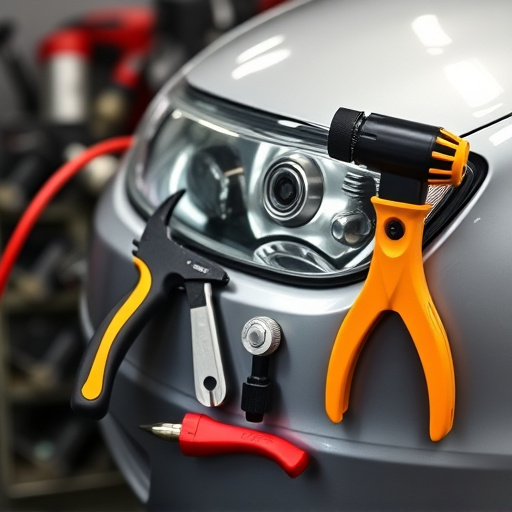
Before tackling any domestic auto body repair job, it’s essential to be familiar with the basic tools and equipment required for the task. This includes a good set of screwdrivers, both flathead and Phillips, that fit various car components. Pliers, hammers, and socket sets are also crucial for tightening bolts, removing dents, and reassembling parts. For more complex repairs, an impact wrench can make loosening stubborn nuts easier, while a spray gun and mask will be needed for applying car paint services or primers. A variety of sandpaper, from coarse to fine grits, is essential for smoothing out surfaces and preparing them for new paintwork.
Understanding how to use these tools effectively is key in achieving professional-looking vehicle body repair results. Knowing when to employ each tool ensures that the repair process is efficient and accurate. With the right equipment at hand, you’ll be better equipped to handle minor to moderate vehicle bodywork issues yourself, saving time and potentially money.
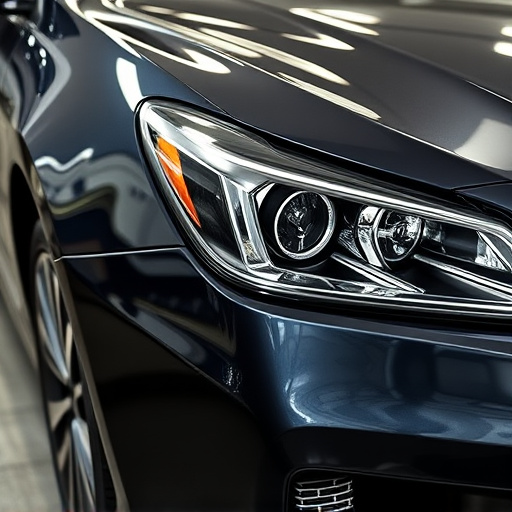
Step-by-Step Guide to Dents and Scratches Removal
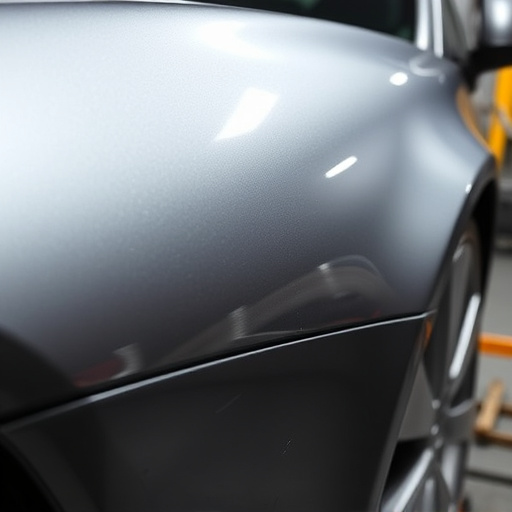
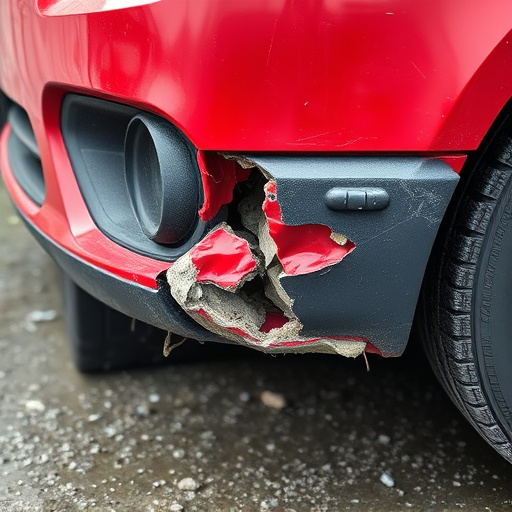
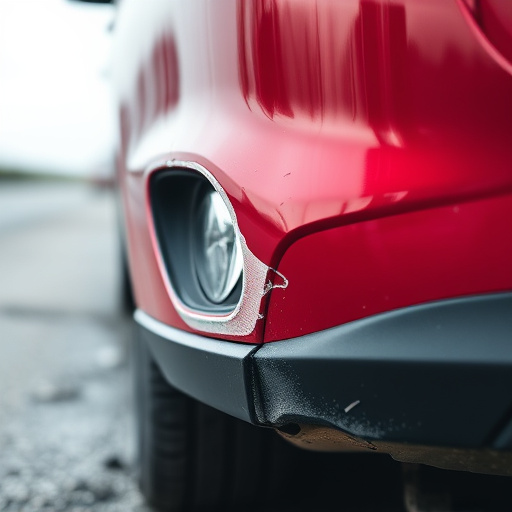
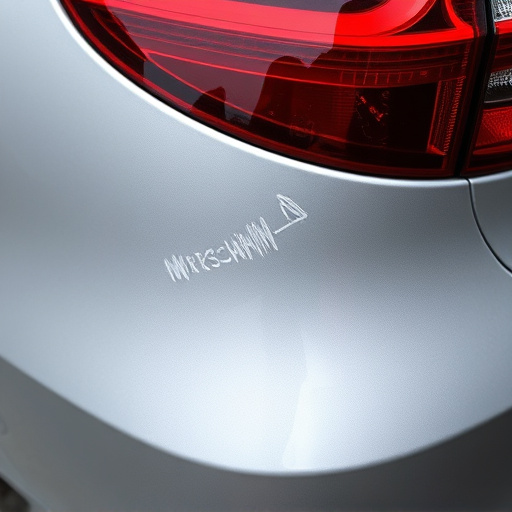
Removing dents and scratches from your car’s exterior is a crucial part of domestic auto body repair, allowing you to restore its sleek appearance. Here’s a step-by-step guide to help you tackle these common issues:
1. Assess the Damage: Begin by carefully examining the dent or scratch to determine its size and depth. Smaller, shallow dents can often be fixed with simple techniques, while deeper ones might require professional tools. For scratches, assess their length and severity; light scratches can usually be buffed out, but deep ones may need filling and sanding.
2. Choose the Right Tools: Depending on the damage, you’ll need specific tools for dent removal. This could include a dent puller (also known as a pry bar), which is ideal for small to medium-sized dents. For deeper or larger dents, consider using a hydraulic press or an air bag kit, commonly found in collision repair shops. For scratches, microfibers, polishing compounds, and buffer tools are essential.
3. Prepare the Surface: Before starting any repairs, wash and dry your car thoroughly to ensure optimal conditions. Remove any debris or contaminants from the damaged area using a soft cloth or brush. This preparation step ensures that your repair job adheres properly.
4. Remove Dents: Apply the chosen dent removal tool carefully, following the manufacturer’s instructions. For pullers, insert the tool under the edge of the dent and slowly slide it across, releasing air pressure as you go to prevent damage. With hydraulic presses or air bags, position them precisely and activate the mechanism to pop out the dented panel.
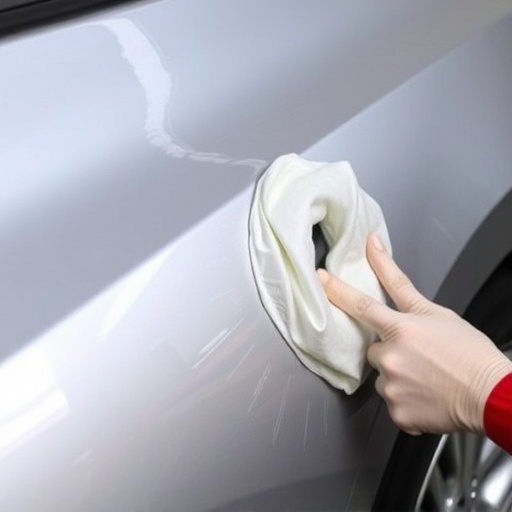
5. Address Scratches: Apply a small amount of polishing compound onto a buffer pad, then gently buff the scratch in straight lines. Work until the scratch disappears and the paint surface is smooth. For deeper scratches, use a finer grit sandpaper after buffing to ensure a seamless finish when you apply touch-up paint.
Painting and Finishing Techniques for Professional Results
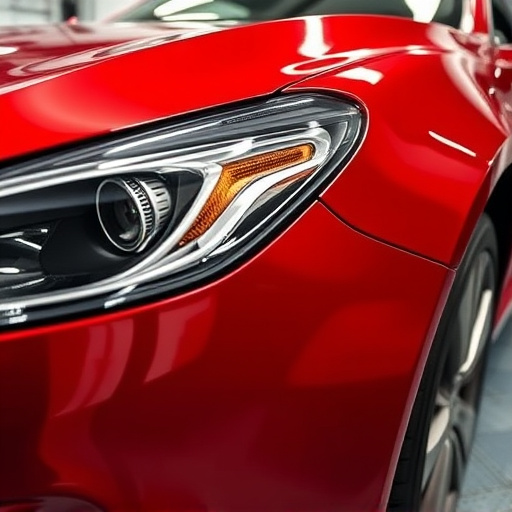
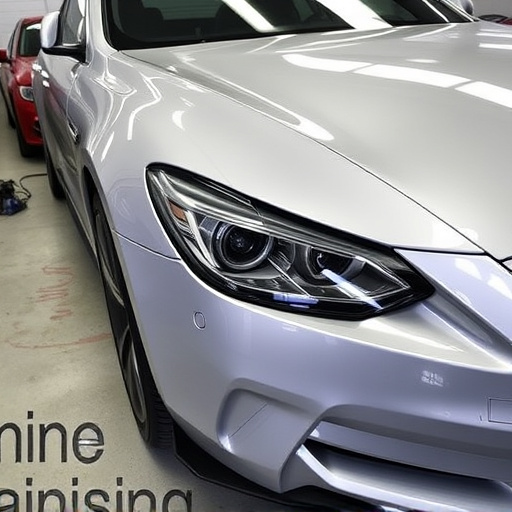
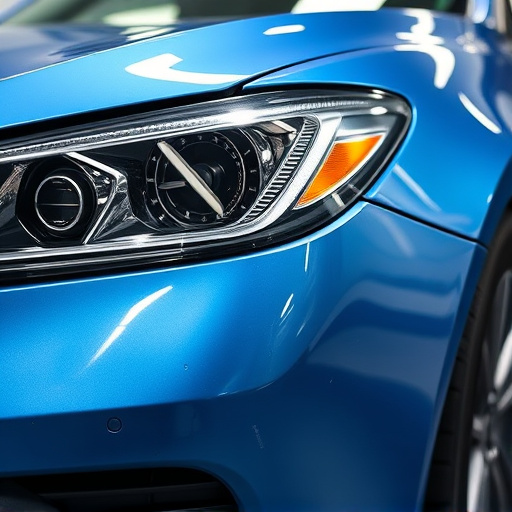
When it comes to achieving professional results with domestic auto body repair, painting and finishing techniques play a pivotal role. The process begins with meticulous preparation, including surface cleaning, priming, and sanding, to ensure a smooth base for the new paint job. This step is crucial as it enhances adhesion and ensures long-lasting durability of the final coat.
Various painting methods can be employed depending on the extent of damage and personal preference. Spray painting offers an even, efficient finish, making it popular among car repair services. For more intricate or smaller repairs, a brush or airbrush technique might be suitable, allowing for precise application and detailed designs. Mastering these techniques not only enhances the aesthetics of the vehicle but also contributes to the overall quality of domestic auto body repair performed in a collision center or collision repair shop.
Learning domestic auto body repair techniques can empower you to tackle minor dents, scratches, and damage on your vehicle, saving time and money. By understanding the basics of auto body repair tools, mastering simple removal methods like dent and scratch fixes, and exploring painting and finishing techniques, you’ll achieve professional results in your garage. With these skills, you’re well-equipped to maintain your car’s appearance and value, making domestic auto body repair a valuable asset for any vehicle owner.